博主
258
258
258
258
专辑
- gradle专辑 1
- javaweb专辑 2
- 学习笔记zg4 33
- hutool工具包的使用 13
- Vue3+Element Plus 12
- 跟着禹神学Vue3 1
- 学习笔记zg2(SpringBoot版) 10
- 学习笔记zg2-马 0
- LayUI专辑 14
- 学习笔记zg1 9
第一节 SpringBoot集成Redis
亮子
2021-06-10 07:59:44
21798
0
0
0
1、创建工程
1)、添加依赖
        <dependency>
            <groupId>org.springframework.boot</groupId>
            <artifactId>spring-boot-starter-data-redis</artifactId>
        </dependency>
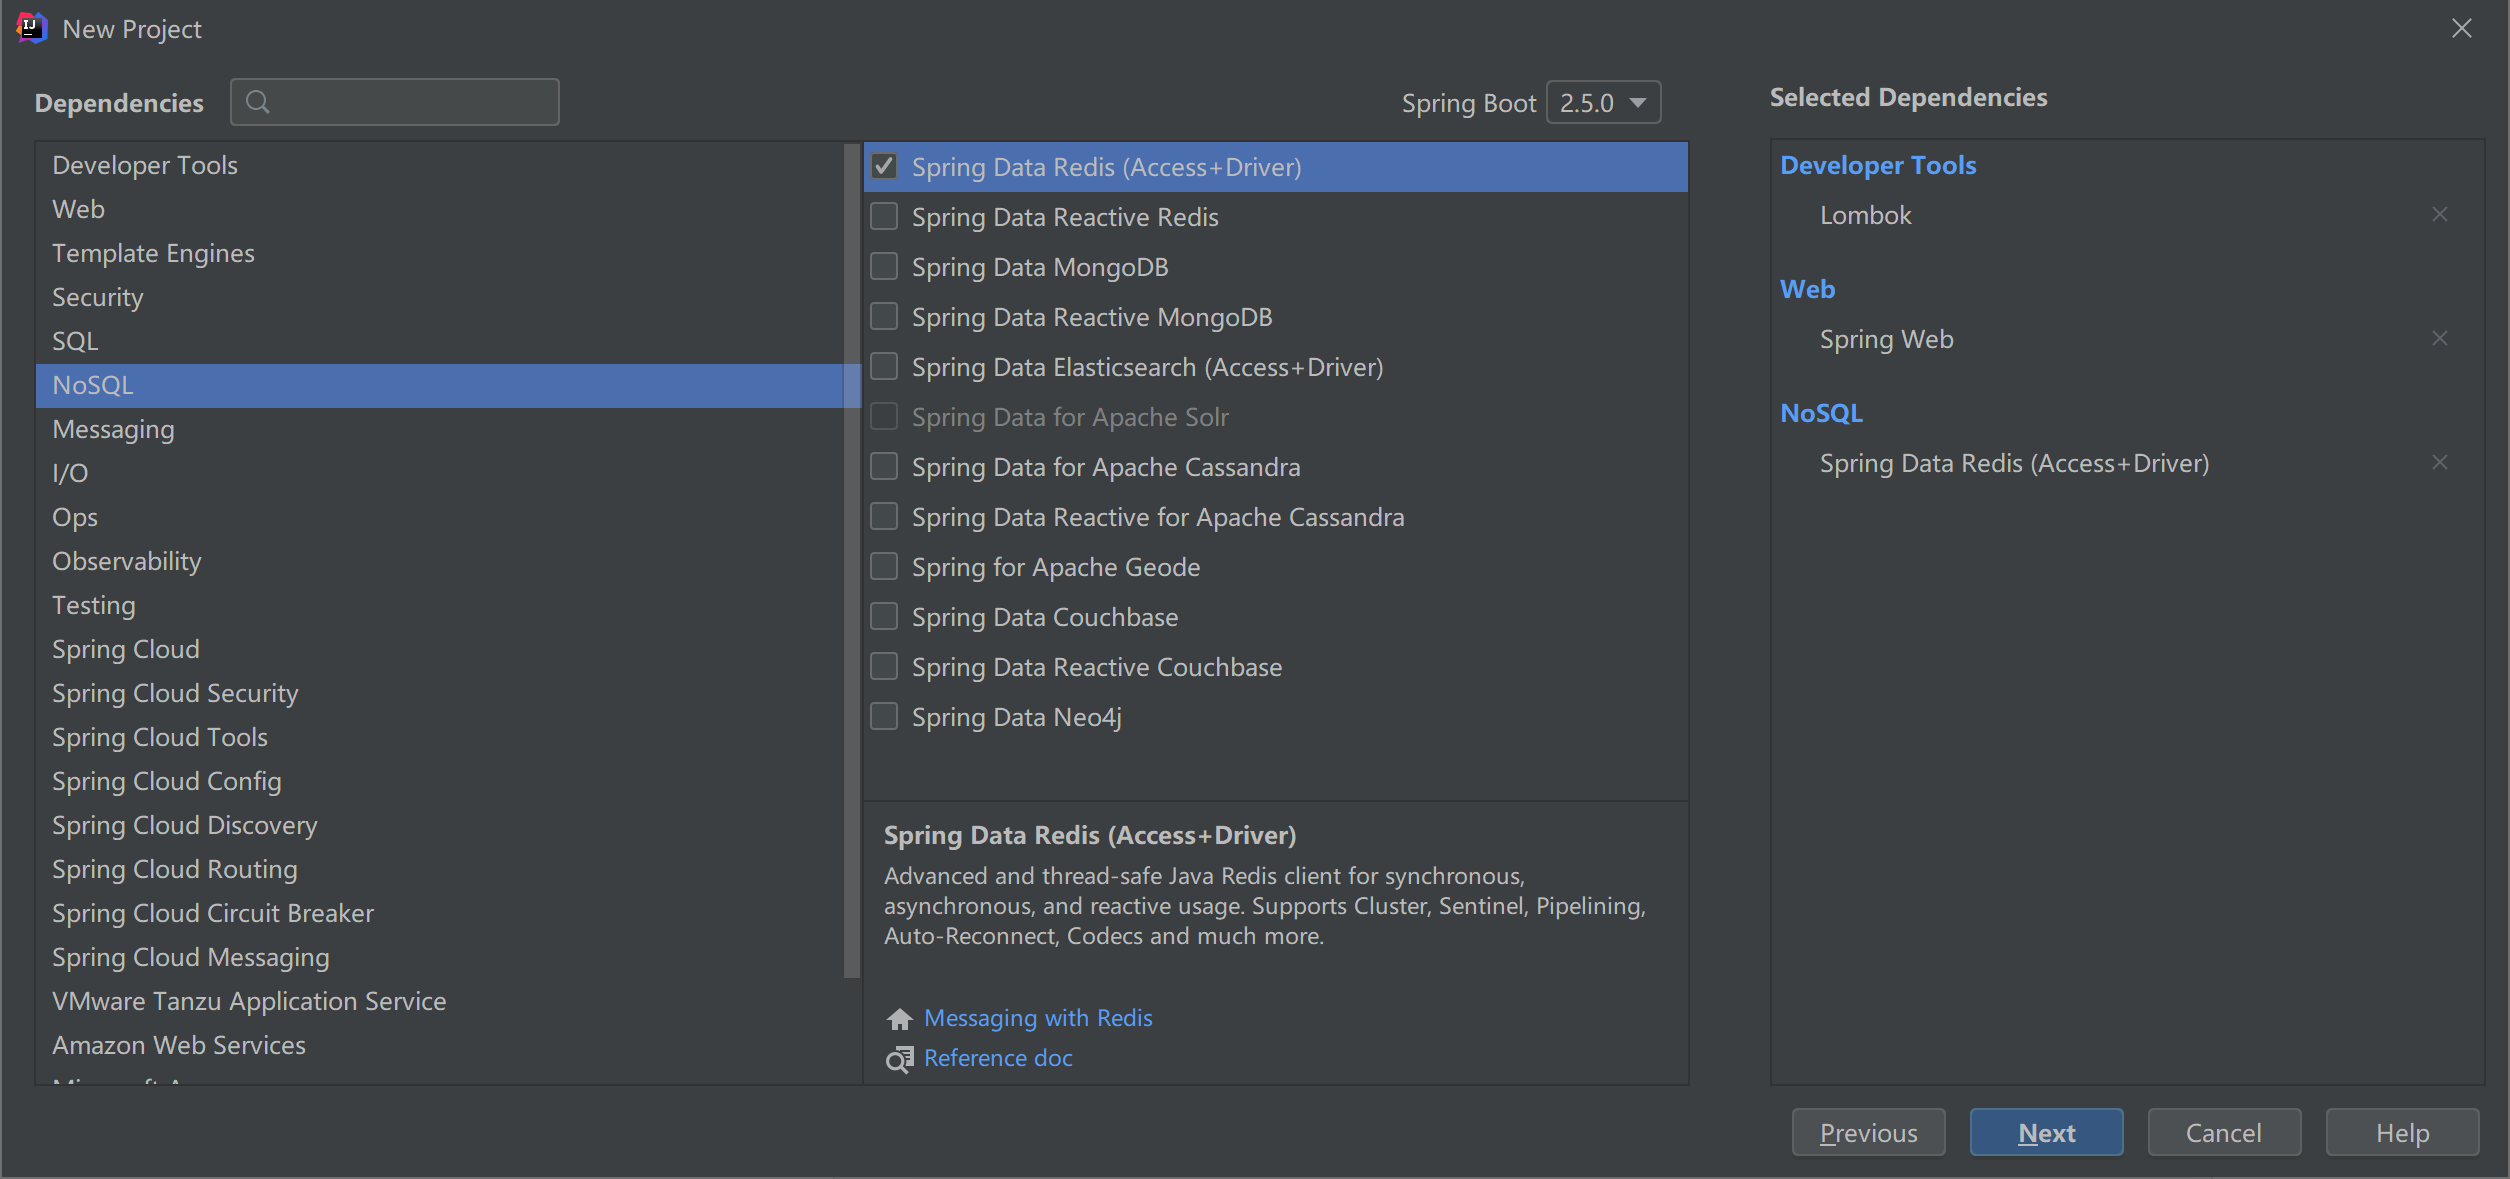
也可以在创建项目时候进行选择依赖,如下图:

2)、测试代码
package com.shenmazong.demobootredis;

import org.junit.jupiter.api.Test;
import org.springframework.beans.factory.annotation.Autowired;
import org.springframework.boot.test.context.SpringBootTest;
import org.springframework.data.redis.core.StringRedisTemplate;

@SpringBootTest
class DemoBootRedisApplicationTests {

    @Autowired
    StringRedisTemplate redisTemplate;

    @Test
    void contextLoads() {
        redisTemplate.opsForValue().set("userName", "wusong");
    }

}
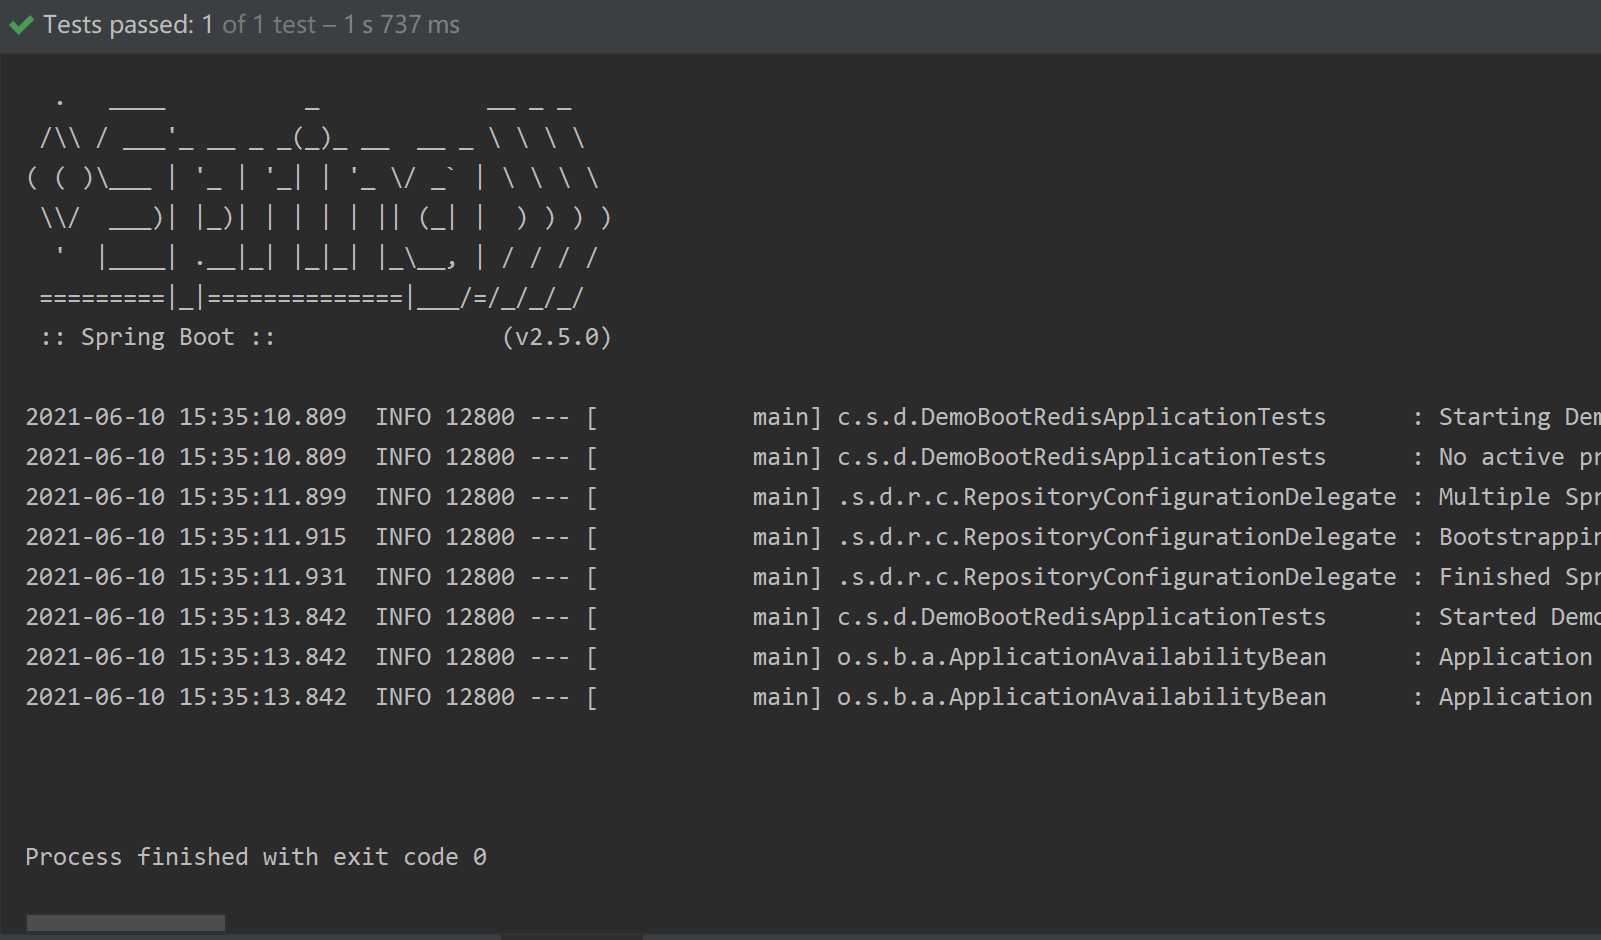
3)、运行项目

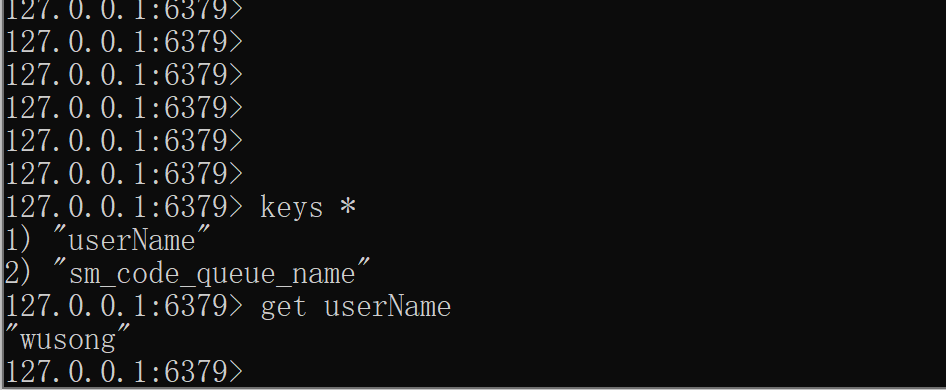
运行成功,那么数据是否写进去了呢?到redis库里面看一下:

从上图看,数据已经写到库里面了,是不是感到很神奇,什么都没有配置,就能够操作redis了,这是怎么做到的呢?
这其实都是SpringBoot的福利,因为约定优于配置,在我们引入redis starter的时候,已经设置默认的连接参数,因此默认情况下,我们无需配置。
4)、自定义配置
server.port=8000
spring.application.name=demo-boot-redis

# Redis数据库索引(默认为0)
spring.redis.database=0
# Redis服务器地址
spring.redis.host=127.0.0.1
# Redis服务器连接端口
spring.redis.port=6379
# Redis服务器连接密码(默认为空)
spring.redis.password=
2、Redis的模板类
1)、redisTemplate和stringRedisTemplate对比
RedisTemplate看这个类的名字后缀是Template,如果了解过Spring如何连接关系型数据库的,大概不会难猜出这个类是做什么的 ,它跟JdbcTemplate一样封装了对Redis的一些常用的操作,当然StringRedisTemplate跟RedisTemplate功能类似那么肯定就会有人问,为什么会需要两个Template呢,一个不就够了吗?其实他们两者之间的区别主要在于他们使用的序列化类。
它们的区别主要如下:
- RedisTemplate使用的是 JdkSerializationRedisSerializer 序列化对象
- StringRedisTemplate使用的是 StringRedisSerializer 序列化String
2)、StringRedisTemplate
- 主要用来存储字符串,StringRedisSerializer的泛型指定的是String。当存入对象时,会报错 :can not cast into String。
- 可见性强,更易维护。如果过都是字符串存储可考虑用StringRedisTemplate。

3)、RedisTemplate
- 可以用来存储对象,但是要实现Serializable接口。
- 以二进制数组方式存储,内容没有可读性。
