博主
专辑
- gradle专辑 1
- javaweb专辑 2
- 学习笔记zg4 33
- hutool工具包的使用 13
- Vue3+Element Plus 12
- 跟着禹神学Vue3 1
- 学习笔记zg2(SpringBoot版) 10
- 学习笔记zg2-马 0
- LayUI专辑 14
- 学习笔记zg1 9
第三节 Spring配置文件详解之bean标签
1、简单项目
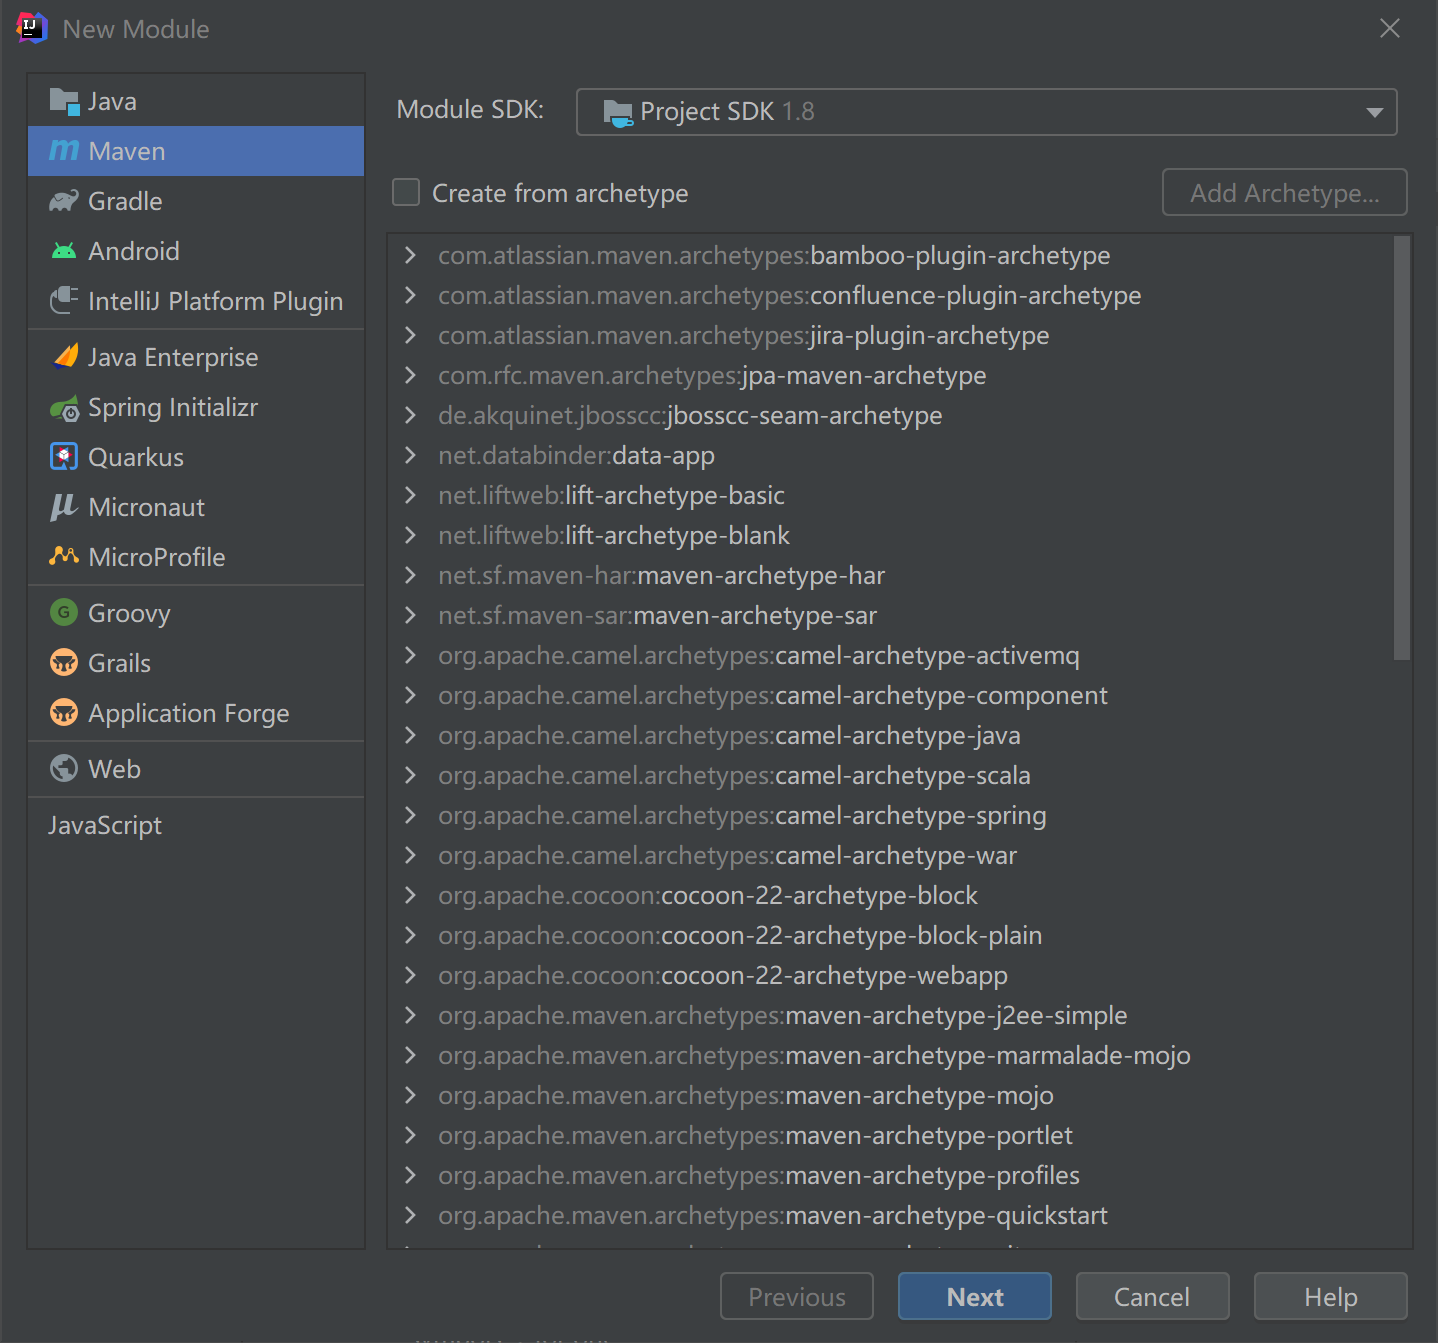
1)、创建maven项目

2)、添加依赖
<?xml version="1.0" encoding="UTF-8"?>
<project xmlns="http://maven.apache.org/POM/4.0.0"
         xmlns:xsi="http://www.w3.org/2001/XMLSchema-instance"
         xsi:schemaLocation="http://maven.apache.org/POM/4.0.0 http://maven.apache.org/xsd/maven-4.0.0.xsd">
    <modelVersion>4.0.0</modelVersion>

    <groupId>com.shenmazong</groupId>
    <artifactId>server-spring-demo01</artifactId>
    <version>1.0-SNAPSHOT</version>

    <properties>
        <maven.compiler.source>8</maven.compiler.source>
        <maven.compiler.target>8</maven.compiler.target>
    </properties>

    <dependencies>
        <dependency>
            <groupId>org.springframework</groupId>
            <artifactId>spring-context</artifactId>
            <version>5.3.7</version>
        </dependency>
    </dependencies>

</project>
3)、创建配置文件applicationContext.xml
<?xml version="1.0" encoding="UTF-8"?>
<beans xmlns="http://www.springframework.org/schema/beans"
       xmlns:xsi="http://www.w3.org/2001/XMLSchema-instance"
       xsi:schemaLocation="http://www.springframework.org/schema/beans http://www.springframework.org/schema/beans/spring-beans.xsd">

    <bean id="whoAmI" class="com.shenmazong.pojo.TbUser"></bean>
</beans>
4)、创建新类
package com.shenmazong.pojo;

public class TbUser {

    public void whoAmI() {
        System.out.println("我是武松.....");
    }
}
5)、使用bean
package com.shenmazong;

import com.shenmazong.pojo.TbUser;
import org.springframework.context.ApplicationContext;
import org.springframework.context.support.ClassPathXmlApplicationContext;

public class DemoTest {
    public static void main(String[] args) {
        ApplicationContext applicationContext = new ClassPathXmlApplicationContext("applicationContext.xml");
        TbUser user = (TbUser) applicationContext.getBean("whoAmI");
        user.whoAmI();
    }
}
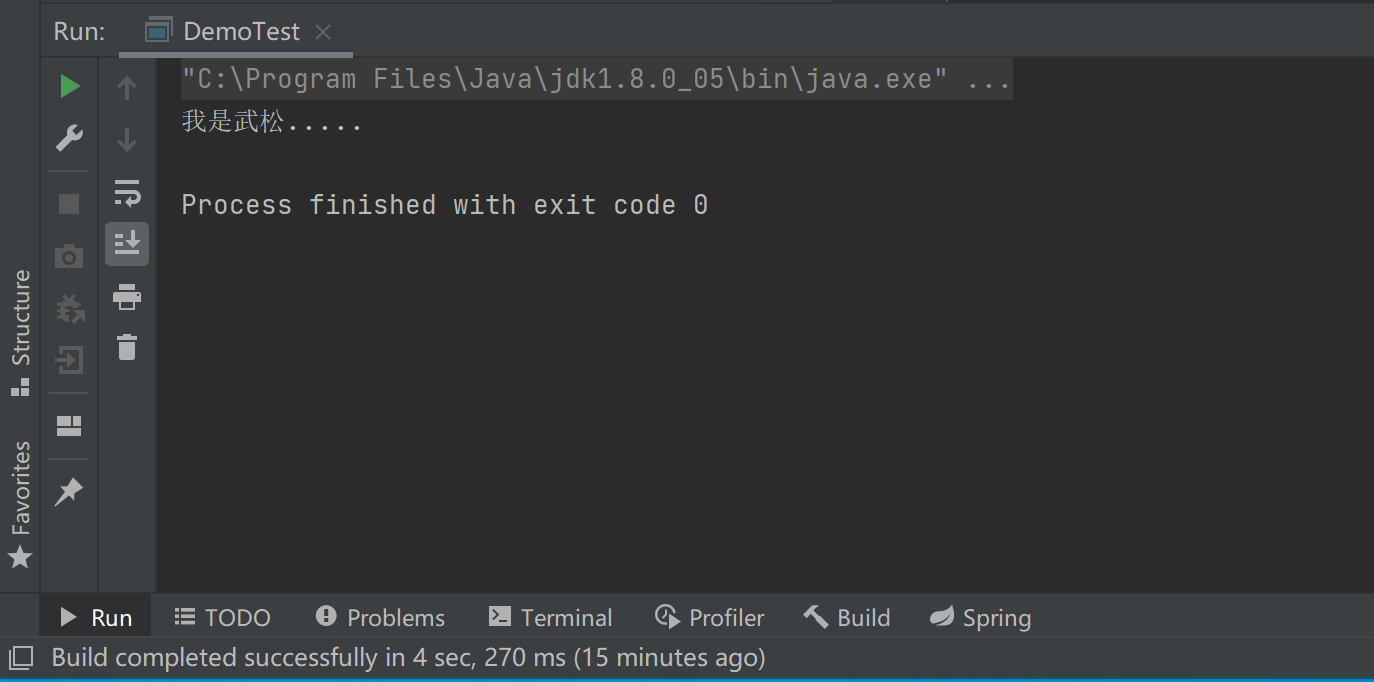
6)、运行main函数

2、配置文件解析
配置文件一般情况下,名字会是applicationContext.xml,但是有些项目由于bean太多,都放到一个文件里面不好管理,所以也会创建多个配置文件。
无论使用多少配置文件,功能都是一样的。
Spring配置文件是用于指导Spring工厂进行Bean生产、依赖关系注入(装配)及Bean实例分发的“图纸”。Java EE程序员必须学会并灵活应用这份“图纸”准确地表达自己的“生产意图”。Spring配置文件是一个或多个标准的XML文档,applicationContext.xml是Spring的默认配置文件,当容器启动时找不到指定的配置文档时,将会尝试加载这个默认的配置文件。
下面列举的是一份比较完整的配置文件模板,文档中各XML标签节点的基本用途也给出了详细的解释,这些XML标签节点在后续的知识点中均会用到,熟练掌握了这些XML节点及属性的用途后,为我们动手编写配置文件打下坚实的基础。
3、bean标签
-
id: Bean的唯一标识名。它必须是合法的XML ID,在整个XML文档中唯一。
-
class: 用来定义类的全限定名(包名+类名)。只有子类Bean不用定义该属性。
-
scope: 对象的作用范围,取值如下
| 取值范围 | 取值说明 |
|---|---|
| singleton | 默认值,单例模式 |
| prototype | 多例模式 |
| request | WEB项目中,Spring创建一个Bean的对象,将对象存入到request域中 |
| session | WEB 项目中,Spring创建一个Bean的对象,将对象存入到session域中 |
| global session | WEB项目中,应用在Portlet环境,如果没有Portlet环境那么globalSession相当于session |
-
autowire:(自动装配,默认为“default”):它定义了Bean的自动装载方式。
-
“no”:不使用自动装配功能。
-
“byName”:通过Bean的属性名实现自动装配。
-
“byType”:通过Bean的类型实现自动装配。
-
“constructor”:类似于byType,但它是用于构造函数的参数的自动组装。
-
“autodetect”:通过Bean类的反省机制(introspection)决定是使用“constructor”还是使用“byType”。
-
dependency-check(依赖检查,默认为“default”):它用来确保Bean组件通过JavaBean描述的所以依赖关系都得到满足。在与自动装配功能一起使用时,它特别有用。
-
none:不进行依赖检查。
-
objects:只做对象间依赖的检查。
-
simple:只做原始类型和String类型依赖的检查
-
all:对所有类型的依赖进行检查。它包括了前面的objects和simple。
-
depends-on(依赖对象):这个Bean在初始化时依赖的对象,这个对象会在这个Bean初始化之前创建。
-
init-method:用来定义Bean的初始化方法,它会在Bean组装之后调用。它必须是一个无参数的方法。
-
destroy-method:用来定义Bean的销毁方法,它在BeanFactory关闭时调用。同样,它也必须是一个无参数的方法。它只能应用于singleton Bean。
-
factory-method:定义创建该Bean对象的工厂方法。它用于下面的“factory-bean”,表示这个Bean是通过工厂方法创建。此时,“class”属性失效。
-
factory-bean:定义创建该Bean对象的工厂类。如果使用了“factory-bean”则“class”属性失效。
1)、单例模式
- 对象类
package com.shenmazong.pojo;

public class TbUser {

    public void whoAmI() {
        System.out.println("我是武松.....");
    }
}
- 注入配置
<bean id="whoAmI" class="com.shenmazong.pojo.TbUser" scope="singleton"></bean>
- 测试代码
package com.shenmazong;

import com.shenmazong.pojo.TbStudent;
import com.shenmazong.pojo.TbUser;
import org.springframework.context.ApplicationContext;
import org.springframework.context.support.ClassPathXmlApplicationContext;

public class DemoTest {
    public static void main(String[] args) {
        ApplicationContext applicationContext = new ClassPathXmlApplicationContext("applicationContext.xml");
        TbUser user1 = (TbUser) applicationContext.getBean("whoAmI");
        TbUser user2 = (TbUser) applicationContext.getBean("whoAmI");

        System.out.println(user1);
        System.out.println(user2);
    }
}
2)、多例模式
- 对象类
package com.shenmazong.pojo;

public class TbUser {

    public void whoAmI() {
        System.out.println("我是武松.....");
    }
}
- 注入配置
<bean id="whoAmI" class="com.shenmazong.pojo.TbUser" scope="prototype"></bean>
- 测试代码
package com.shenmazong;

import com.shenmazong.pojo.TbStudent;
import com.shenmazong.pojo.TbUser;
import org.springframework.context.ApplicationContext;
import org.springframework.context.support.ClassPathXmlApplicationContext;

public class DemoTest {
    public static void main(String[] args) {
        ApplicationContext applicationContext = new ClassPathXmlApplicationContext("applicationContext.xml");
        TbUser user1 = (TbUser) applicationContext.getBean("whoAmI");
        TbUser user2 = (TbUser) applicationContext.getBean("whoAmI");

        System.out.println(user1);
        System.out.println(user2);
    }
}
3)、构造和销毁
- 对象类
package com.shenmazong.pojo;

public class TbUser {

    public void open() {
        System.out.println("初始化user...");
    }

    public void close() {
        System.out.println("销毁user...");
    }

    public void whoAmI() {
        System.out.println("我是武松.....");
    }
}
- 注入配置
<bean id="whoAmI" class="com.shenmazong.pojo.TbUser" scope="prototype" init-method="open" destroy-method="close"></bean>
- 测试代码
package com.shenmazong;

import com.shenmazong.pojo.TbStudent;
import com.shenmazong.pojo.TbUser;
import org.springframework.context.ApplicationContext;
import org.springframework.context.support.ClassPathXmlApplicationContext;

public class DemoTest {
    public static void main(String[] args) {
        ApplicationContext applicationContext = new ClassPathXmlApplicationContext("applicationContext.xml");
        TbUser user = (TbUser) applicationContext.getBean("whoAmI");
        user.whoAmI();
        System.out.println(user);

        ((ClassPathXmlApplicationContext)applicationContext).close();
    }
}
从实际测试效果看,销毁函数始终没有来得及调用。
4、Bean实例化三种方式
- 无参构造方法实例化
- 工厂静态方法实例化
- 工厂实例方法实例化
1)、无参构造方法实例化
- 对象类
package com.shenmazong.pojo;

public class TbUser {

    public void whoAmI() {
        System.out.println("我是武松.....");
    }
}
- 注入配置
<bean id="whoAmI" class="com.shenmazong.pojo.TbUser" scope="singleton"></bean>
- 获取对象
package com.shenmazong;

import com.shenmazong.pojo.TbStudent;
import com.shenmazong.pojo.TbUser;
import org.springframework.context.ApplicationContext;
import org.springframework.context.support.ClassPathXmlApplicationContext;

public class DemoTest {
    public static void main(String[] args) {
        ApplicationContext applicationContext = new ClassPathXmlApplicationContext("applicationContext.xml");
        TbUser user = (TbUser) applicationContext.getBean("whoAmI");
        user.whoAmI();
    }
}
2)、有参构造方法实例化
- 对象类
package com.shenmazong.pojo;

public class TbStudent {
    private String studentName;
    private Integer age;

    public TbStudent(String name, Integer age) {
        this.studentName = name;
        this.age = age;
    }

    @Override
    public String toString() {
        return "TbStudent{" +
                "studentName='" + studentName + '\'' +
                ", age=" + age +
                '}';
    }
}
- 注入配置
    <bean id="student" class="com.shenmazong.pojo.TbStudent" scope="singleton">
        <constructor-arg name="name" value="武松"></constructor-arg>
        <constructor-arg name="age" value="32"></constructor-arg>
    </bean>
- 获取对象
package com.shenmazong;

import com.shenmazong.pojo.TbStudent;
import com.shenmazong.pojo.TbUser;
import org.springframework.context.ApplicationContext;
import org.springframework.context.support.ClassPathXmlApplicationContext;

public class DemoTest {
    public static void main(String[] args) {
        ApplicationContext applicationContext = new ClassPathXmlApplicationContext("applicationContext.xml");

        TbStudent student = applicationContext.getBean(TbStudent.class);
        System.out.println(student);
    }
}
3)、工厂静态方法实例化
- 工厂类
package com.shenmazong.method;

import com.shenmazong.pojo.TbUser;

public class StaticFactory {

    public static TbUser getUser() {
        return new TbUser();
    }
}
- 注入配置
<bean id="whoAmI" class="com.shenmazong.method.StaticFactory" factory-method="getUser"></bean>
- 测试代码
package com.shenmazong;

import com.shenmazong.pojo.TbStudent;
import com.shenmazong.pojo.TbUser;
import org.springframework.context.ApplicationContext;
import org.springframework.context.support.ClassPathXmlApplicationContext;

public class DemoTest {
    public static void main(String[] args) {
        ApplicationContext applicationContext = new ClassPathXmlApplicationContext("applicationContext.xml");
        TbUser user = (TbUser) applicationContext.getBean("whoAmI");
        user.whoAmI();
    }
}
4)、工厂实例方法实例化
- 工厂类
package com.shenmazong.method;

import com.shenmazong.pojo.TbUser;

public class DynamicFactory {
    public TbUser getUser() {
        return new TbUser();
    }
}
- 注入配置
    <bean id="dynamicFactory" class="com.shenmazong.method.DynamicFactory"></bean>
    <bean id="whoAmI" factory-bean="dynamicFactory" factory-method="getUser"></bean>
- 测试代码
package com.shenmazong;

import com.shenmazong.pojo.TbStudent;
import com.shenmazong.pojo.TbUser;
import org.springframework.context.ApplicationContext;
import org.springframework.context.support.ClassPathXmlApplicationContext;

public class DemoTest {
    public static void main(String[] args) {
        ApplicationContext applicationContext = new ClassPathXmlApplicationContext("applicationContext.xml");
        TbUser user = (TbUser) applicationContext.getBean("whoAmI");
        user.whoAmI();
    }
}