博主
258
258
258
258
专辑
- gradle专辑 1
- javaweb专辑 2
- 学习笔记zg4 33
- hutool工具包的使用 13
- Vue3+Element Plus 12
- 跟着禹神学Vue3 1
- 学习笔记zg2(SpringBoot版) 10
- 学习笔记zg2-马 0
- LayUI专辑 14
- 学习笔记zg1 9
第二十三节 Vue集成markdown编辑器mavon-editor
亮子
2021-07-08 06:21:01
16170
0
0
0
1、安装
官网
- https://github.com/hinesboy/mavonEditor
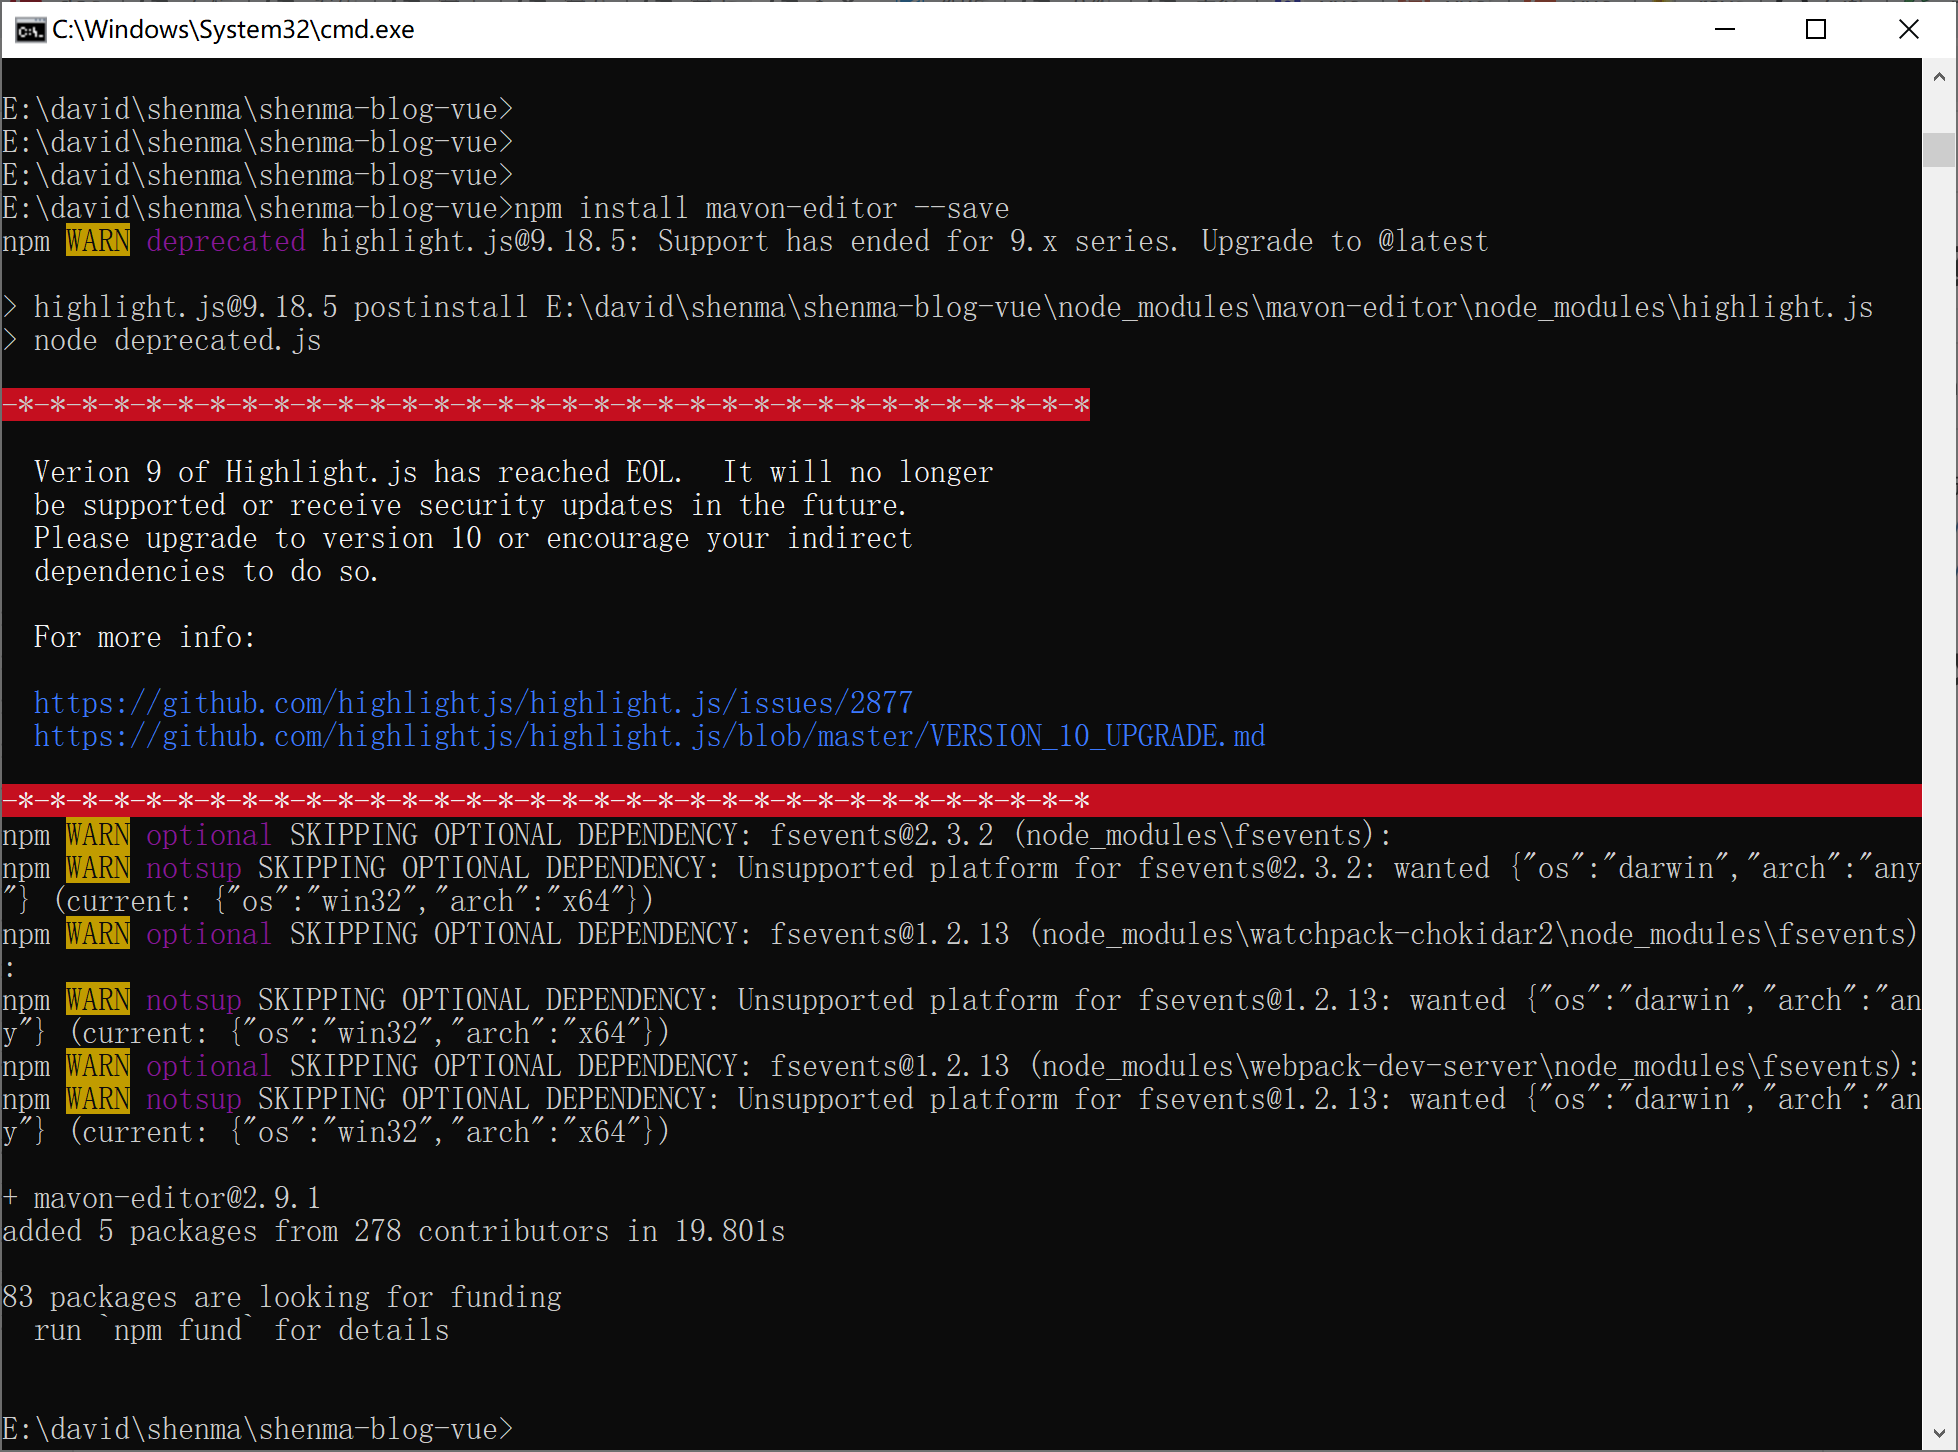
npm install mavon-editor --save
安装完成后,提示升级高亮js的版本:
https://github.com/highlightjs/highlight.js/issues/2877
https://github.com/highlightjs/highlight.js/blob/master/VERSION_10_UPGRADE.md

2、引入、配置
在要使用markdown编辑器的组件内操作:
<script>
// 导入组件 及 组件样式
import { mavonEditor } from 'mavon-editor'
import 'mavon-editor/dist/css/index.css'
</script>

components: {  mavonEditor },
引入的官网介绍如下:
https://github.com/hinesboy/mavonEditor/blob/master/doc/cn/use.md
3、使用
<mavonEditor
  :subfield="false"
  :autofocus="false"
  v-model="formData.content"
  ref="md"
  style="width: 99%;"
 />
4、常见问题
详细请看他的依赖包redeme 你会有额外的收获的
问题
那么,在常用的操作里面,例如各级标题、表格、加粗加斜、标记、图文……图?此时,我们发现一个问题:如何添加本地图片呢?
Q
在某些IDE里面使用markdown时,可以自由的插入本地图片,那我们在页面中使用此编译器组件如何添加图片呢?
A
监听。没错,就是监听输入框变化。如果监听到有图片插入,那么我们可以先将图片上传至服务器,然后获取到线上url,拿到该url再插入到该位置。那么具体过程就很明显了:
选择本地图片,插入
监听到有图片插入
将该图上传至服务器
获取到服务器返回的图片url
将该线上url冬天插入到输入框中
4、完整代码
<template>
    <div class="markdown">
        <div class="container">
            <mavon-editor v-model="content" ref="md" @imgAdd="$imgAdd" @change="change" style="min-height: 600px"/>
            <button @click="submit">提交</button>
        </div>
    </div>
</template>

<script>
    import { mavonEditor } from 'mavon-editor'
    import 'mavon-editor/dist/css/index.css'

    export default {
        name: "",
        props: [],
        components: {
            mavonEditor,
        },
        data() {
            return {
                content:'',
                html:'',
                configs: {}
            }
        },
        methods: {
            // 将图片上传到服务器,返回地址替换到md中
            $imgAdd(pos, $file){
                let formdata = new FormData();

                this.$upload.post('/上传接口地址', formdata).then(res => {
                    console.log(res.data);
                    this.$refs.md.$img2Url(pos, res.data);
                }).catch(err => {
                    console.log(err)
                })
            },
            // 所有操作都会被解析重新渲染
            change(value, render){
                // render 为 markdown 解析后的结果[html]
                this.html = render;
            },
            // 提交
            submit(){
                console.log(this.content);
                console.log(this.html);
                this.$message.success('提交成功,已打印至控制台!');
            }
        },
        mounted() {

        }
    }
</script>
代码风格设置:
- https://blog.csdn.net/darkCloudss/article/details/103435154
- https://blog.csdn.net/weixin_46213331/article/details/116218267
- https://segmentfault.com/a/1190000022895980
参考文章
- https://blog.csdn.net/yishengzhiai005/article/details/86649763
- https://www.jianshu.com/p/02379604ca9c
- https://www.cnblogs.com/yangguanglei/p/12795718.html
- https://www.jianshu.com/p/aca26ec75ec3
- https://baijiahao.baidu.com/s?id=1673643366712744876&wfr=spider&for=pc
- https://www.cnblogs.com/yangguanglei/p/12795718.html
- https://blog.csdn.net/yishengzhiai005/article/details/86649763
- https://www.cnblogs.com/Jimc/p/13161836.html